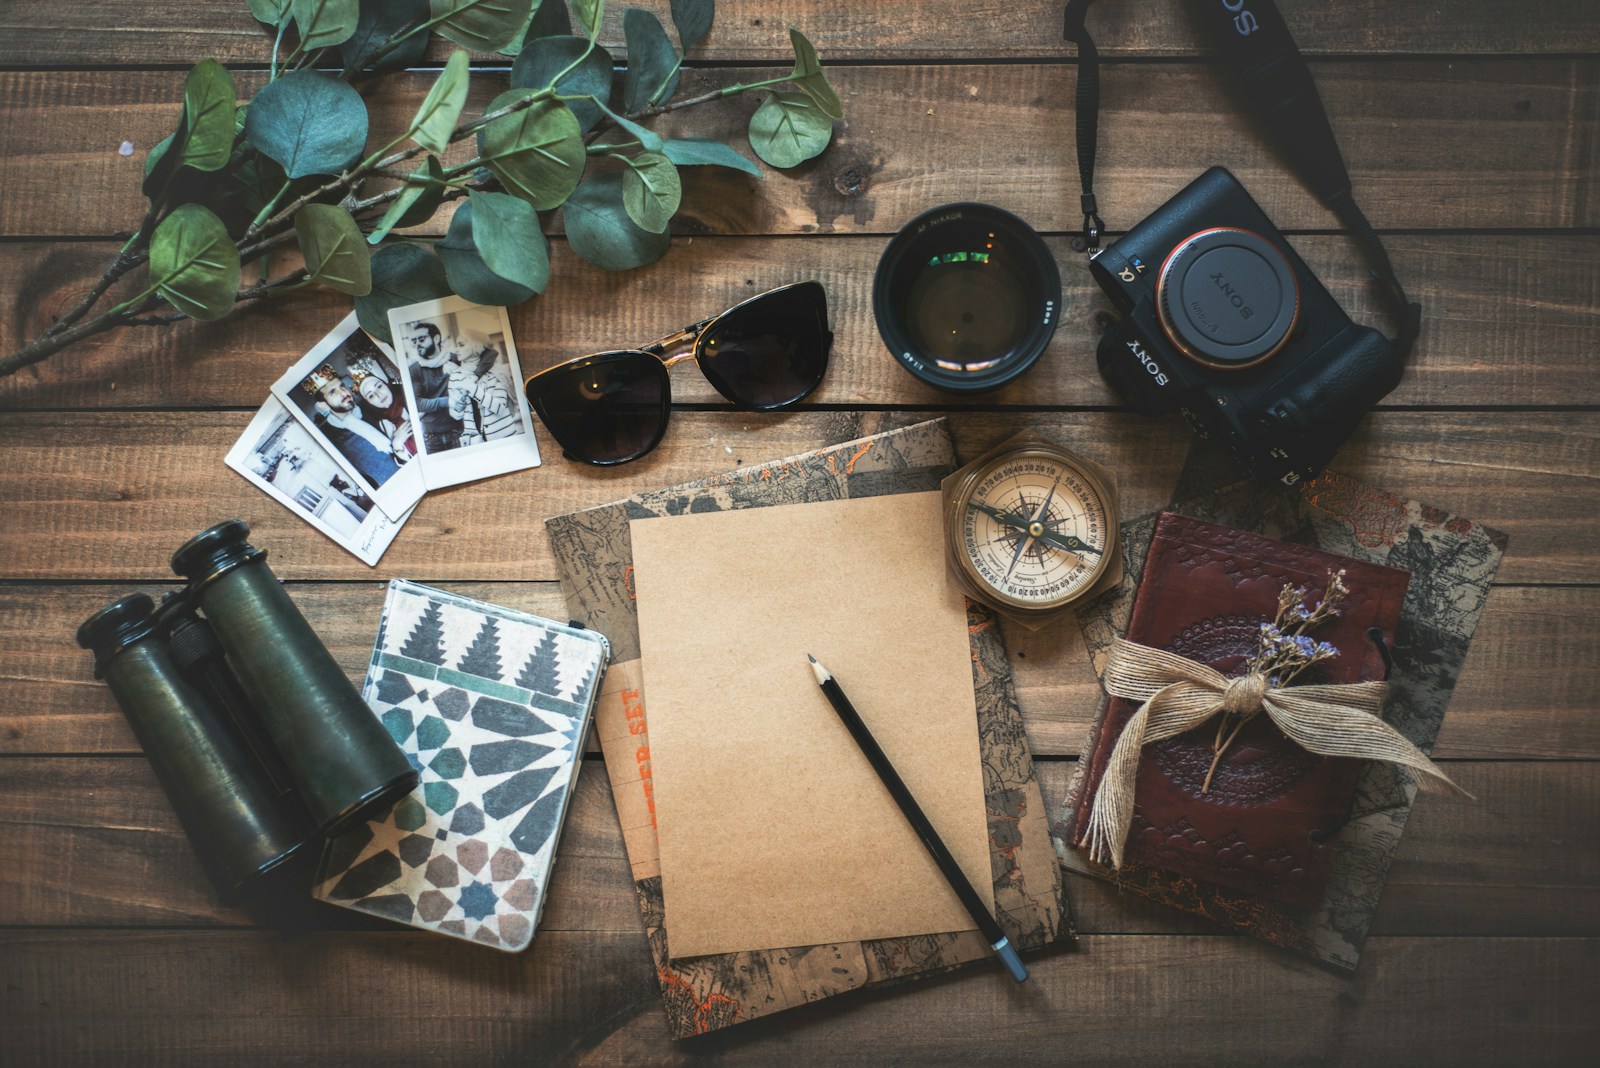
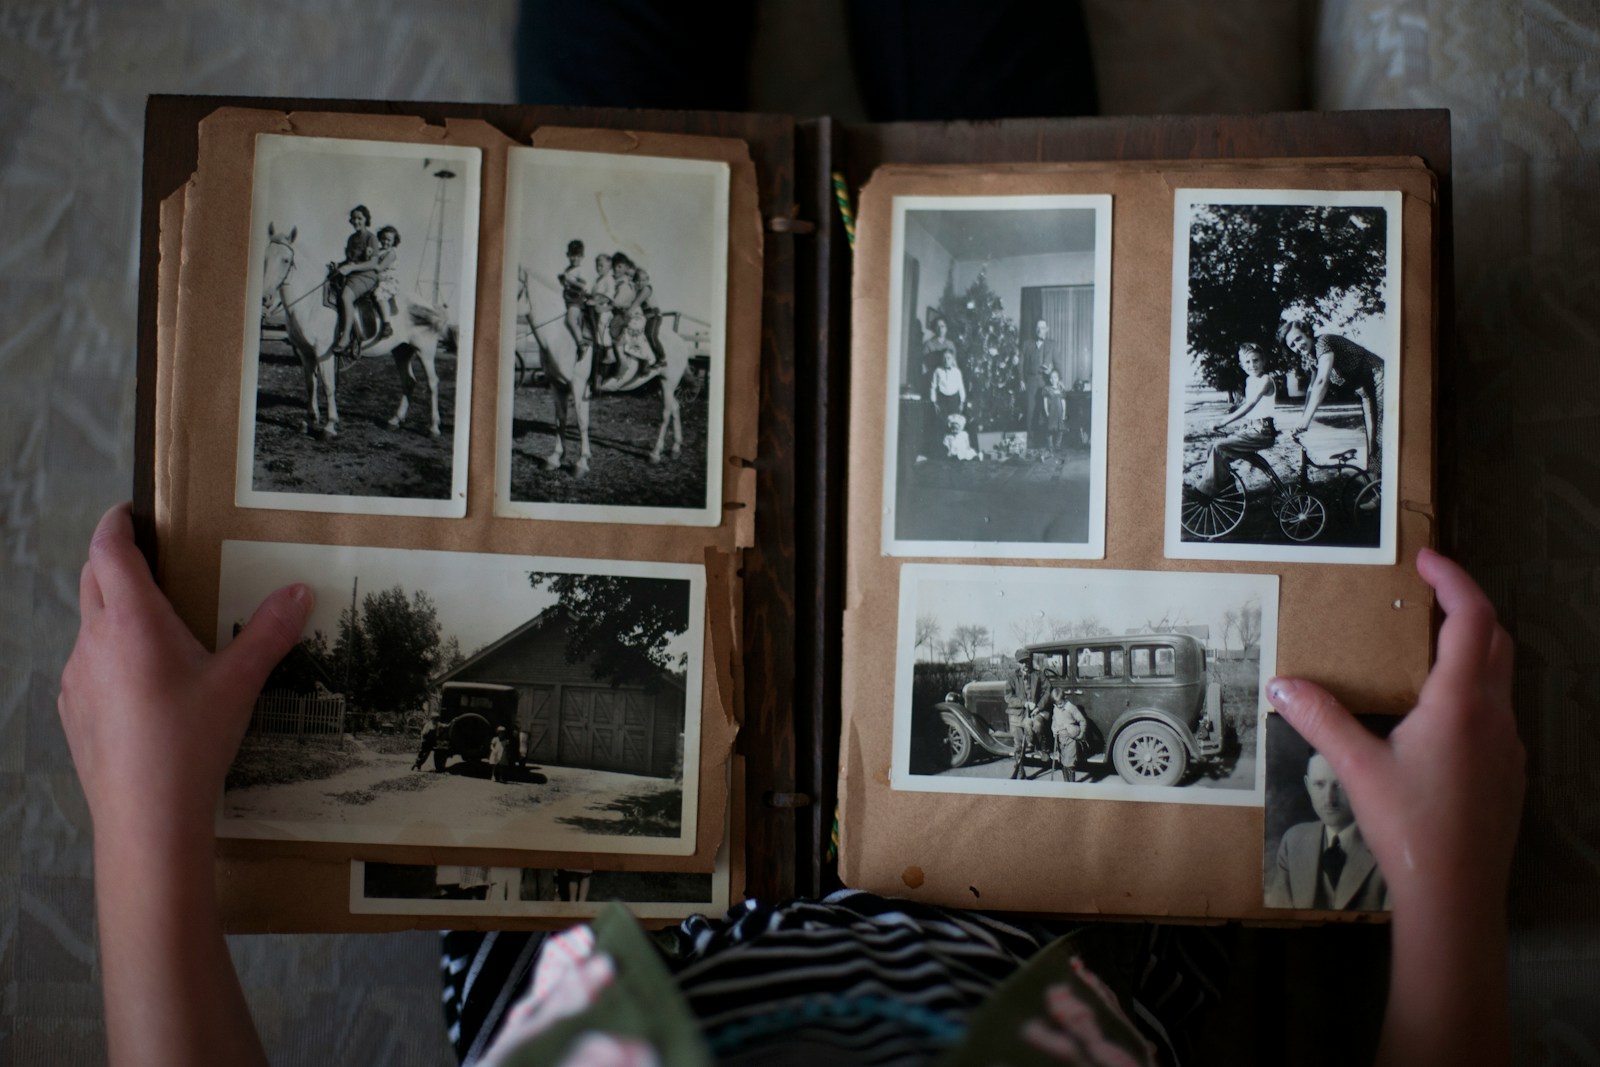
Traveling is more than just visiting new places—it’s about collecting memories, embracing new experiences, and creating stories that last a lifetime. Whether it’s wandering through ancient ruins, relaxing on tropical beaches, or discovering hidden cafes in vibrant cities, each moment is special. While it’s easy to take hundreds of photos during a trip, the challenge is how to preserve and present those memories in a meaningful way. This is where a travel photo book becomes invaluable.
A well-designed travel photo book captures not only the visual aspects of your journey but also the emotions, experiences, and stories that come with each snapshot. If you’ve returned from a recent adventure or are planning your next trip, here are some tips to help you create the perfect travel photo book.
1. Plan Ahead Before You Travel
While it’s possible to put together a photo book after you’ve completed your trip, it’s a good idea to plan ahead and think about how you want your book to come together. This doesn’t mean creating a rigid plan, but having a general idea of the moments you’d like to capture can go a long way in telling a compelling story.
What to Think About Before You Go:
- The Story You Want to Tell: Are you focusing on a single destination or multiple? Will your book have a theme, such as food, culture, or nature? This helps guide the types of photos you’ll want to take.
- Special Moments to Capture: Make a mental note of must-capture moments—such as landmarks, local markets, street scenes, or even candid shots of your fellow travelers. Be sure to also include the smaller details, like a close-up of local cuisine or an interesting street sign.
- Journaling or Note-Taking: Consider carrying a small notebook or using a note app to jot down key details about places you visit, people you meet, or feelings you experience. These small notes will be helpful when you add captions or stories to your photo book later on.
2. Choose High-Quality Photos That Tell a Story
While you’ll likely end up with hundreds, if not thousands, of photos by the end of your trip, the key to a great travel photo book is curation. A good travel photo book isn’t just a collection of random images but a visual narrative that walks the viewer through your journey.
Photo Selection Tips:
- Focus on Key Moments: Select images that highlight important parts of your trip—whether it’s arriving at a famous landmark, enjoying a local meal, or capturing a spontaneous adventure.
- Vary Your Shots: A mix of landscapes, candid portraits, close-up details, and wide shots will add variety to your book and keep it interesting. Try to include different perspectives that capture the essence of the place you visited.
- Avoid Overloading Pages: While it’s tempting to include every photo you love, less is often more. Choose the best images that truly represent the experience rather than overwhelming the viewer with too many similar shots.
- Tell a Chronological Story: Arrange your photos in the order that you experienced them to guide the reader through your trip. This creates a natural flow and allows others to experience your adventure as you did.
3. Create Thematic Sections
If your trip involved multiple locations, activities, or experiences, dividing your travel photo book into thematic sections can make it more engaging. Each section can highlight a specific aspect of your journey, helping to break the book into digestible and focused parts.
Theme Ideas for Your Travel Photo Book:
- By Location: If you visited several different cities or regions, dedicate a section to each location. For example, “Day 1: Exploring Rome” or “Days 3-4: Tuscany Countryside.”
- By Activity: Another way to organize your book is by activity, such as “Cultural Highlights,” “Local Cuisine,” “Outdoor Adventures,” or “Historical Landmarks.”
- By Mood or Emotion: This is more creative and less literal, but you can organize your book based on how you felt during the trip. For instance, a “Relaxation” section for beach days, or an “Excitement” section for thrilling experiences like hiking or zip-lining.
Creating sections allows you to focus on the individual parts of your trip and helps tell a more complete story.
4. Use Captions and Notes to Add Context
While photos can say a lot, adding captions, notes, or short stories can provide deeper context and make your photo book more personal. This doesn’t mean you need to write lengthy paragraphs, but simple captions that explain the “who, what, when, and where” can add a lot of meaning to your photos.
What to Include in Captions:
- Descriptions of Locations: A short note about where the photo was taken—such as “View from Montmartre, Paris” or “Sunset over the Grand Canyon.”
- Cultural or Historical Facts: For photos of historical sites or famous landmarks, you can add a brief fun fact. For example, “The Colosseum, built in 70 AD, could hold up to 80,000 spectators.”
- Personal Reflections: Share a personal thought or feeling connected to the moment, such as “Our first hike in the Alps—breathtaking and challenging!” or “Tasting street food in Bangkok for the first time.”
These additions help the reader connect with your story and understand the significance behind each photo.
5. Include Maps and Itinerary Highlights
For an interactive touch, consider adding maps or visual representations of your itinerary to your travel photo book. This can help readers understand the scope of your trip and how different places connect to one another.
How to Use Maps in Your Photo Book:
- Highlight Your Route: Use a map to trace the path you took, whether you traveled by plane, train, car, or foot. Mark important stops, major cities, or scenic detours to give the viewer an idea of the geography.
- Pin Key Locations: If you want to keep it simple, add small maps at the beginning of each section or city. For example, place a map of Italy before a section dedicated to your time in Rome or Florence.
- Visual Timelines: Consider including an itinerary breakdown alongside your map, like “Day 1: Arrived in Paris – Visited the Eiffel Tower” or “Day 3: Took a boat tour on the Seine.”
Maps not only provide context but also act as a visual aid, helping readers better understand the scale and scope of your journey.
6. Choose a Consistent Layout and Style
Consistency in layout and design will make your travel photo book look polished and professional. While it’s tempting to use different templates and fonts for every page, a unified design will create a cohesive look that’s more visually appealing.
Design Tips:
- Pick a Theme: Whether it’s minimalistic, colorful, or vintage, choose a design theme that reflects the mood of your trip. Stick to a consistent font style, color palette, and layout throughout the book.
- Balanced Layouts: Ensure that your pages are balanced—if one page has several photos, consider placing one or two larger images on the opposite page to avoid clutter. Play around with white space to give your images breathing room.
- Use High-Quality Images: Make sure that the photos you select are of high resolution, especially if you’re printing your photo book. Blurry or pixelated images can detract from the overall aesthetic.
7. Personalize It with Souvenirs and Mementos
Lastly, make your travel photo book truly one-of-a-kind by including personal mementos. These can be scanned or photographed and added digitally to your photo book.
Mementos to Include:
- Ticket Stubs: Plane tickets, train tickets, or entry passes to museums and events add a nostalgic touch.
- Postcards: Include photos of postcards you sent or received during your trip.
- Receipts or Menus: For food lovers, including a receipt or menu from a memorable meal can add a special layer to the experience.
- Handwritten Notes: Include a scanned copy of handwritten notes or journal entries you made during your travels for an extra personal touch.
Final Thoughts
Creating the perfect travel photo book is about more than just collecting beautiful images—it’s about telling the story of your journey in a way that captures the essence of your experience. By carefully curating your photos, adding thoughtful captions, and using creative elements like maps and mementos, you can craft a photo book that’s not only visually stunning but also deeply personal.
With Memory Capture’s intuitive platform, the process is simplified—allowing you to focus on enjoying the memories you’ve made, while the AI takes care of the design details. So, whether you’re reliving a weekend getaway or documenting an epic cross-country adventure, your travel photo book can be a meaningful way to preserve and share your stories for years to come.


